
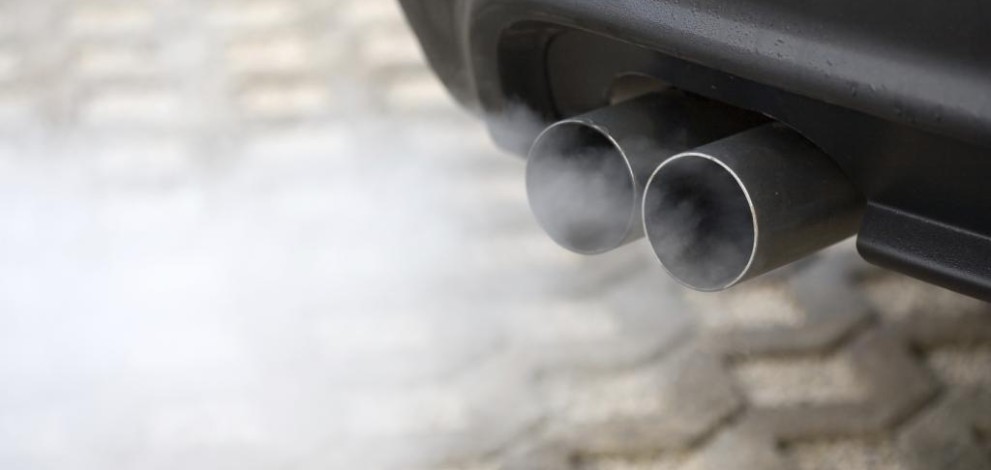
What are the three small words any motorhead dreads to hear?
Blown head gasket.
A blown head gasket will lead to expensive repairs, countless hours working in the garage, or both!
So your best course of action is to try avoid this... unfortunate development.
Blown gaskets can be caused by detonation, improper cooling of the engine, or a poor installation.
So what are the 15 most common installation mistakes you need to avoid when installing new gaskets?
Mistake 1: Wrong Gasket Material
Make sure you’ve chosen the head gasket technology suitable to your engine’s intended use:
-Single-layer embossed steel shim if you want increased compression ratio and power.
-Composite for general use on your stock engine.
-Composite with copper wire ring for your performance engine with aluminum cylinder heads.
-Composite with steel wire ring for your performance or street/strip vehicle with forced induction engine.
-Multi-layer steel for your high-horsepower street or race-only vehicle with a forced induction engine.
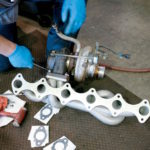
Mistake 2: Improper Handling
Before installing your head gasket, you should wash your hands.
Otherwise, you risk transferring grease and dirt to the gasket’s surface. And once contaminated, the head or gasket won’t be able to create a proper seal.
Another oversight is to place the clean cylinder head on the floor.
The head’s weight will push down on itself, causing dirt to latch on to its surface.
And again, any surface contamination results in a less than perfect seal.
Mistake 3: Not Checking for Flatness
Don’t forget to check the cylinder’s head and block surfaces for flatness.
You can do this by placing a straight edge across both surfaces. Use a feeler gauge to locate any excess clearance.
Remember – if you have too much clearance, the surface you’re testing is not as flat as required to retain a proper seal.
Re-surface the component before continuing with the installation.
Mistake 4: Ignoring Flaws
Do not continue with the installation if you notice that your cylinder head or block has pitting, corrosion, small cracks, ridges, or low spots.
Any flaws, even the smallest, can result leaks.
Re-surfacing the component will resolve any issues.
Mistake 5: Improper Cleaning of the Deck Surface
Make sure the deck surface is cleaned from any leftover residue from your old gasket. If debris are left behind, your new gasket’s seal will be adversely affected.
To clean up, apply gasket remover or surface degreaser to the surface, and using a wire brush scrub away the residue.
Remember to use a non-metallic scraper on aluminum heads!
Mistake 6: Improper Use of Sealers
If you’re installing one of those old school embossed steel gaskets, you need a sealer to cold seal the engine.
But most modern gaskets do not need to be coated with any sealers.
And if you’re installing a coated gasket, avoid any chemical seals. For example, RTV silicone sealers can badly interfere with the chemicals already found on your new gasket. This could cause deterioration and gasket failure.
What’s more, when the head is clamped down the RTC silicone can run down into the cooling jackets or the combustion chamber.
Mistake 7: Damaged Head Bolts
Completely avoid the use of contaminated or damaged threads.
This will give you false torque readings. And it takes away from the bolt’s clamping force.
Before installing, inspect all of the bolt threads. And replace deformed and worn threads.
Mistake 8: Failure to Inspect Head Bolt Holes
Even if all of your head bolts are brand spanking new, it won’t matter if the bolt holes are deformed or dirty.
In most cases, you need to run a bottoming tap down each of the holes.
And what should you do to prevent the uppermost threads from pulling above the deck surface after you tighten your bolts? Chamfer the tops of the holes beforehand.
Mistake 9: Using Old Bolts
You should never re-install TTY bolts.
This is because they are slightly elastic and stretch after installation to strengthen the fastener clamping force.
And in most cases, that stretching is actually permanent.
If you use them more than once, these bolts could over-stretch which compromise the clamping force.
Mistake 10: Failure to Check Bolt Lengths
Like the popular saying goes: “Measure twice, install once.”
It’s necessary to check that for one, you have the correct bolt lengths. And two, that each bolt hole corresponds to that correct length.
This is needed because bolt holes require bolts in varying lengths.
Finally, measure each bolt and compare it to the rest to ensure stretch.
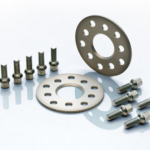
Mistake 11: Cylinder Head Galling
In the case of aluminum cylinder heads, you must place hardened steel washers under your bolts.
This is done to avoid any galling of the head surface as well as an evened out clamping on the softer aluminum surface.
Mistake 12: Improper Use of Torque Wrench
My advice here is, don’t use a cheap torque wrench.
Why?
It won’t give you the accurate torque readings you need when torqueing down the head bolts.
Save yourself a headache – use a high-quality torque wrench to tighten the head bolts in at least 3 steps. Tighten until you get to the needed torque specification.
And while you’re tightening, use smooth motions. Sharp jerks can result in false readings!
Mistake 13: Ignoring Proper Torque Sequence & Specs
Isn’t it obvious?
The recommended torque specs and patterns are important for proper installation.
And when you’re torqueing down your bolts, do it smoothly and gradually in no less than 3 steps for a strong and even clamping force.
Mistake 14: Skipping Re-torquing When Needed
Follow the specific instruction for installing the head gasket.
Certain types may require you to re-torque the head bolts. And if it’s needed, you should do it.
Run your engine until it gets to a normal operating temperature and turn it off.
Re-torque the bolts as required while your engine is warm.
But if you’re using aluminum cylinder heads, you should wait until your engine is complete cooled until re-torquing.
Mistake 15: Not Bleed the Cooling System
It’s always recommended to bleed your cooling system before installing your new head gaskets.
This will get rid of problematic air pockets that could otherwise heat up. That heat can transfer to your new gaskets, causing them to grow in size.
And this would flatten out the combustion seal.


This was very useful.
The information is very useful . I liked it.
Useful information