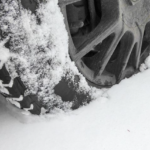
So, you’ve decided to replace your brake pads with new ones.
Now what?
Don’t be discouraged by the seemingly complicated installation process. It’s an easy job to do on your own. Just follow the steps outlined below – all you’ll need are the right tools and a free afternoon.
Installation Steps
1. Lift your car, safely, on a flat surface. A good place would be your driveway or garage floor.
• Begin by loosening your lug nuts a couple of turns. This will make your job easier later.
• Lift and support your vehicle by the chassis using a floor jack and jack stands.
• To make sure it’s stable, try rocking it back and forth. If the vehicle moves, you should reposition the jack stands.
2. Remove the lug nuts and the wheels
• Take off all lug nuts
• Take off each wheel
• Take care not to drop the wheels on your toes. Ouch.
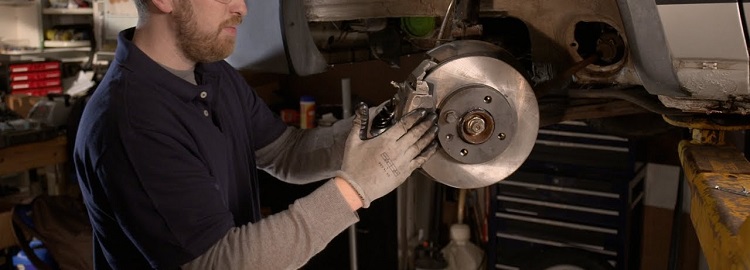
3. Inspect the brake rotors
• If your brake rotors appear smooth, move on to the next step.
• If your brake rotors are grooved or rough, you should replace them.
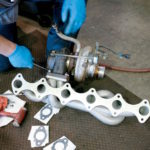
4. Remove the caliper’s bolts or pins
• When they’re off, you should be able to slide your caliper and pads away from the brake rotor.
5. Compress the caliper piston and take the brake pads off
• Loosen the brake bleeder screw slightly – you’ll find in on the caliper’s back. You want a slight leakage only.
• Using a caliper compressor or C-clamp, squeeze the pistons back into their bores. This will result in a small fluid leak from the bleeder screw. Don’t worry. Doing this will protect your caliper’s seals from damage, and it will make it much easier to compress the caliper.
• When the pistons are fully compressed you can tighten the bleeder screw and remove the compression tool.
• Take the brake pads off. If you can’t remove them by hand, use a small pry bar.
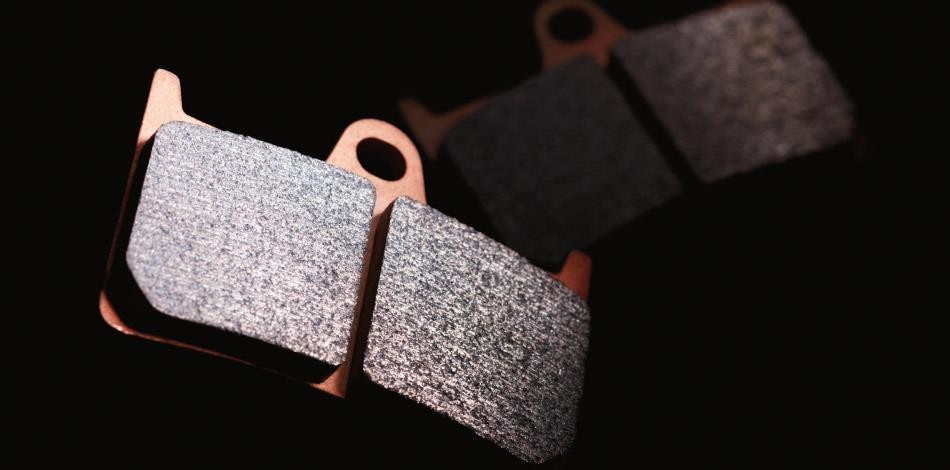
6. Mount your replacement brake pads inside the brake caliper
• Place the shims or anti-squeal compound on the pad’s backings.
• Slide the pads into the caliper. Take care not to touch their friction surface (or do so as little as possible).
7. Grease your braking system
• Coat the caliper pins and any other caliper part that slides against bare metal with high temperature brake grease.
• Lubricate any shiny spots in the caliper (they are friction points) to prevent future squeaks and squeals.
• Make sure you keep your pads’ friction side clean. If you get any grease on your pads, it will be close to impossible to remove. Be careful.
8. Reinstall the caliper assembly
• Slide the caliper and pads over the brake rotor.
• Fasten your caliper using its hold-down bolts and pins. If they’re in bad shape, use new hardware.
9. Bleed your brakes
• This is important. It’s possible that some air entered your brake system when you opened the bleeder screws.
• Place a drip tray under each brake caliper.
• Open the hood. Using a wrench or socket remove the master cylinder cap and slightly loosen the bleeder screw on the wheel farthest away from the master cylinder.
• Attach a brake bleeding tool to the bleed screw at the top of the brake caliper and bleed your brakes.
• Repeat this process for all remaining bleeder screws.
• Refill the brake fluid level if needed.
10. Put your wheels back on and enjoy
• Place the wheels back in their place and tighten the lug nuts with your hands
• Slightly raise your vehicle using the floor jack. Remove the jack stands.
• Lower your vehicle on its wheels.
• Tighten the lug nuts with a torque wrench in a star pattern.
• Follow the proper bed-in procedure that came with your new brake pads. Or follow the steps we outlined below.
• Enjoy!
Wasn’t that easy?
You just saved yourself some money by doing the work yourself. And you spent quality timeProcedure for with the car.
For the best selection of high quality brake pads, check out our guide on the 10 Best Performance Brake Pads.
How To Bed-In New Brake Pads

Bedding-in your new brake pads is important. This process will remove any impurities from your pad’s surface while transferring a thin layer of pad residue onto the rotor’s surface.
Essentially, the bed-in process is repetitively heating and cooling your brakes. The temperatures need be just right to ensure an even pad transfer. And to avoid any scarring of the pad and rotor surfaces.
1. Find a wide, open road that’s suitable for safely stopping your vehicle multiple times.
2. Accelerate to 55 km/h and reduce your speed to 10-12 km/h by gently stepping on the brake.
3. Repeat the step above 4 times to warm up your brake pads
4. Now it’s time to up the heat! Accelerate to 70 km/h and brake down to 15 km/h
5. Repeat the step above at 4 times
6. Park your vehicle and let your brakes cool completely for at least an hour. Do not press down on your brake pedal while you’re parked.
You need to avoid coming to a complete stop during the break-in process to properly bed your brakes. Otherwise you risk melting the brake pads against the hot rotors.
Obviously, safety comes first. So if you need to stop the vehicle, do so. One funky stop is not going to mess up your efforts.